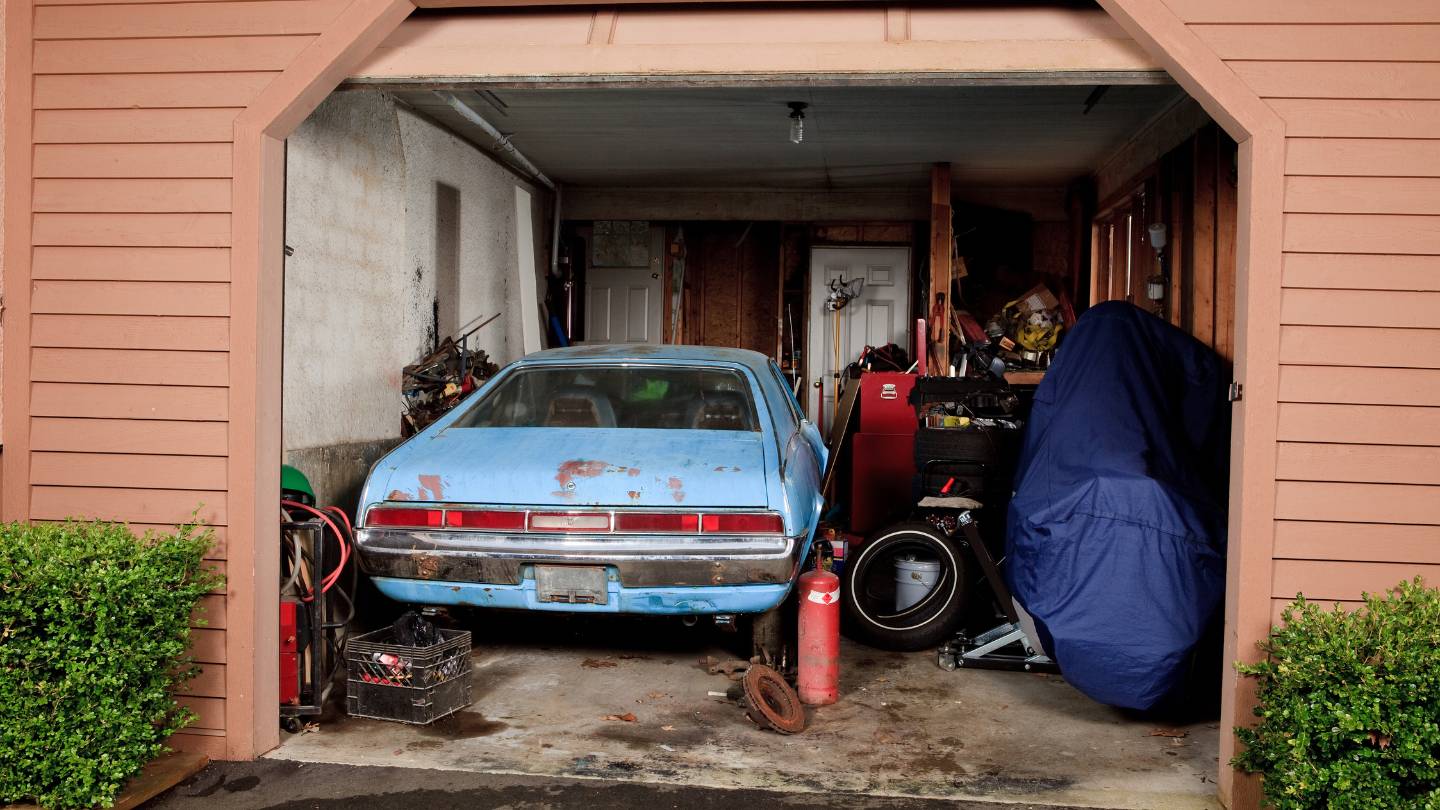
Like most of us, you probably can’t live without your five-figure investment—your car. The sun’s rays, bird droppings, and tree sap may all harm, so why not bring everything inside? (Getting into a hot car during the summer isn’t fun either.)
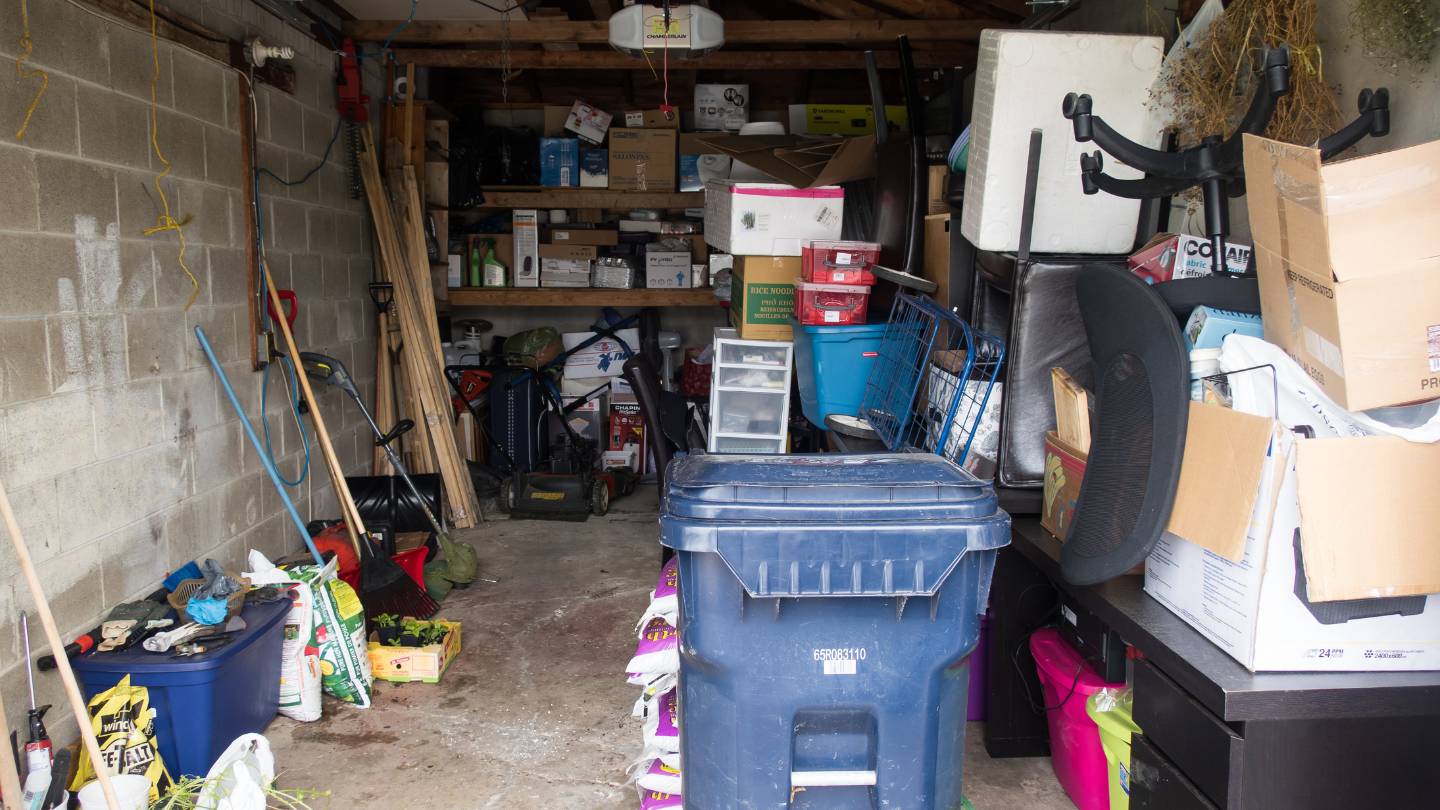
Keeping it in a garage will keep it much cleaner and may even increase its lifespan. We have compiled some do-it-yourself garage organisation ideas and instructions to maintain your garage clutter-free and secure.
Never Put These Things In Your Garage!
Pet Food
When you’re cleaning out your garage, there are some items you should not keep there.
Keeping pet food in the garage is like inviting rodents for a tasty lunch. Be careful to store pet food in the garage (or anywhere else in your home) in an airtight plastic or metal container. Paper and cardboard are easy prey for rodents.
Oily Rags
Do not put rags that have been soaked in oil in your garage. When greasy rags are not properly vented, their internal heat might spontaneously ignite, causing a disastrous fire in your home.
Books
The garage is better for keeping the books you loved as a youngster so that you may pass them on to your children and grandchildren. Insects known as silverfish love to feed on starchy materials like book glue and other dark, damp places like basements, garages, and crawl spaces.
Firewood
Although firewood is a year-round need for many homes and backyards, it also serves as a tempting target for pests who are happy to invade your home. Always bring in the fuel you’ll need and store it in a firewood rack at least 20 feet away from the house (including the garage).
Sleeping Bags
Fabric does not do well when stored in unpredictable humidity and temperature swings. Mice and rats like chewing on it, and it can grow mouldy. Do not, under any circumstances, put your sleeping bag in the garage with your other non-fabric camping gear. Bring your fabric goods indoors, including sleeping bags, clothing, and accessories. While washing your sleeping bag, keep these things in mind.
Paint
Paint formulations can be affected by very hot or very cold temperatures. Therefore, you shouldn’t keep your leftover paint in your garage if the temperature fluctuates wildly throughout the year. For the best way to store paint, read the label. The paint may be partially damaged if it freezes in the winter.
Toys
Please put your child’s cherished playthings, notably their soft toys and stuffed animals, in the garage. If given the opportunity, dust mites, other insects, and mice could destroy the toys. Keep toys in sealed containers if you must store them in the garage; nonetheless, the house is the ideal location for this.
Propane Tanks
Propane tanks are typically fireproof, but a leak in a confined area, like a garage, could ignite a fire with the slightest spark, even if you start your car. Ensure they’re outside, in a spot that won’t get too hot.
Old Computers
Computers and other electrical devices are susceptible to short circuits caused by changes in humidity and temperature. Keep gadgets inside your house at all times.
Printed Photographs
The garage is not the place to keep printed images, particularly ones without digital counterparts. In a flash, the heat, cold, and humidity will ruin those treasured recollections. Inside, in an environment free of humidity and temperature swings, is the ideal place to keep photographs in albums or acid-free containers.
Important Files And Papers
The garage is not the place to keep sensitive documents like birth certificates, passports, and medical records; it is more appropriate for use in a home office. Photos are also susceptible to harm from water and high humidity. Put any paper goods you need to keep in the garage in a sealed plastic container.
Wine
Humidity and temperature swings change how wine tastes. They look right at home on a wine rack, which is functional and aesthetically pleasing for any kitchen.
Old Clothing
Instead of putting your beloved garments (sweaters, winter coats, and dresses) in the garage, think about finding a better spot. Garments are a magnet for moths, and wet storage conditions are bad for fur and leather. Put garments in airtight plastic bags and put them somewhere else in the house.
Canned Food
Contrary to popular belief, Canned goods do not remain fresh for very long when stored at temperatures of 50 to 70 degrees. A damp garage can rust cans and glass jar lids, causing a chemical reaction with the food.
Rugs And Carpeting
Store rolled-up carpeting and rugs elsewhere than the garage; they provide excellent hiding places for rodents and insects. Rugs and carpets are susceptible to ruination from long-term exposure to moisture and odour absorption.
Electronics
It may appear like our older electronic devices are impervious to harm at times, but that is not always the case.
Lawn Equipment
Although storing lawn equipment in the garage makes sense, experts say there might be better moves.
What You Can Keep In Your Garage
You may be asking, “Can I store anything in my garage?” right now.
Good news for the order and tidiness of your home: the answer is yes.
The garage is a secure place to keep the following items:
- Outdoor equipment such as rakes, shovels, brooms, and hoses
- Things that can hold liquid, such as vases, pails, and wheelbarrows
- Various pieces of sporting gear, including gloves, balls, rackets, and bats
- Festive ornaments
- Patio sets for the outdoors
- Grass cutters
- Outdoor seating
- Pedal power
Advice On How To Save Money While Organising Your Garage
Sketch Out Your Garage’s Layout
Use the complimentary space planning services offered by most garage-organising system makers while figuring out where to put all your goods. If you want a better-organised garage, it’s a good idea to measure it first.
Check door, window, switch, and outlet sizes and positioning. Also, determine how much room your car occupies in the garage. When deciding where to put things, remember these guidelines as a general rule of thumb.
- Keep related items together while storing lawn chemicals and gardening implements (such as rakes and hoses).
- Place heavy tools, such as lawnmowers, in corners, away from potential collisions with your vehicle.
- Keep bikes and other objects that are used often near the garage door.
- Put seasonal or seldom-used products in places that are difficult to get to.
Keep Things Off The Garage Floor
Avoid putting anything on the floor; more space will be available for your automobile, and you won’t have to deal with messy, difficult-to-sort-through mounds. Simple storage choices include prefabricated shelving units or legs for cabinets, allowing you to quickly clean the floor underneath.
Things Every Garage Needs For Storage
- Various-sized transparent containers for storing and organising hardware and tiny objects. Reusing and recycling food jars is as easy as washing them well before each use.
- Reusable, see-through plastic containers with covers.
- Installing a locked cabinet will remove those dangerous yard chemicals and other items you wouldn’t want your children to touch.
- An on-the-go label maker to save the hassle of reading messy handwriting.
What Makes Open Shelves Better Than Closed Cabinets
Shelves are more practical because they save space, are less expensive, and make scanning stored items a breeze (you won’t need extra clearance to open the doors).
Cabinets with doors make it easy to conceal clutter and disorganisation; thus, they tend to get messy fast. Use them sparingly when you need to keep dust and filth from floating about in the air and getting onto your stored items.
Organise Your Space Vertically
Pegboard
- Pros: Installation is easy, it comes in numerous sizes, and it can be painted to complement any design. It’s also compatible with different hooks, shelves, and organisers made by different manufacturers.
- Cons: A pegboard is okay for hanging little items like hand tools, but it will only hold a bike or something quite heavy.
Track-Based Systems
- Pros: The systems’ capacity to support heavier items is because the shelf standards are suspended from a single track fastened to the wall studs. Another advantage is the ease of relocation of the standards, shelves, hooks, and organisers.
- Cons: The standards will only hang straight if the track is perfectly level, and they work best with finished and plumb garage walls.
Panelised Systems
- Advantages: Slotted plastic panels encase the whole wall, allowing for the installation of lock-in hooks, shelving, and storage cabinets, making full use of the available wall space.
- Downsides: You’re restricted to organising things compatible with your system, and installing some systems requires qualified professionals, which increases the expense.
Make Good Use Of Your Overhead Storage Space
You can hang flat, long items like ladders and seasonal sports equipment from the ceiling of your garage. You should leave enough space for your garage door to open and close without hitting your car’s roof, and any shelves you mount on the ceiling should not obstruct its operation.
Build A Workbench
- A wall-mounted fold-down type provides a stable surface and neatly stores away when not in use, making it ideal for the occasional do-it-yourselfer.
- Inexpensive benches with integrated tool chests are only sometimes affordable. Alternatively, you could use shelves on either side of a plain work table and a pegboard on top to store your tools.
- Ensure the table is just a short height before installing the casters; they transform any table into a portable workplace.
- Complete the set with a cushioned stool that tucks neatly under the table for storage.
Eliminate Air Leaks Between The Home And The Garage
Ensure there are no cracks in the ceiling (if your garage is over a room) or the wall (if your garage is attached to your house) before you put in any organisers. These are the entry points for chilly or warm air and any moisture it may carry. Use caulk to seal little cracks and expand spray foam for bigger ones.
Get Locks For Your Doors And Windows
Home robbers most often enter through unlocked garage doors. Never leave the garage door unlocked, and never forget to use the deadbolt on the front entrance.
When you’ll be gone for a long time, secure the garage door so it’s bolted to the walls. You should always close the garage door even if you’re back mowing the lawn.
Work Tool Magnetic Strips
If your tool collection outgrows the space on your pegboard or wants quick access to the tools you use most, you might want to consider mounting magnetic strips on the front of your workstation. Tools like chisels, wrenches, screwdrivers, scissors, and hammers can be neatly stored on these strips.
Employ Retractable Cord Holders
A clever solution to the problem of having unsightly extension cords dangling around your garage is to install retractable cord reels.
Consider Taking Advantage Of Corners
Consider the corners as potential storage spaces for smaller goods if your wall space is mostly taken up by cabinets, pegboards, or other products utilised for tool storage. Corner shelves are a great solution for tiny objects that don’t fit anywhere else, such as tape, glue, and tools.
Make It A Habit To Stay Clean
Use these ideas if you want your garage to remain neat throughout the year.
- Keep insects away in spring and summer with a natural pesticide.
- Have a bag of kitty litter on hand to soak up grease and oil spills. Keep a portable vacuum cleaner, broom, and dustpan close to your workstation for quick cleanups.
- Water the floor frequently.
- Sort through your possessions once a year and get rid of whatever you don’t use by selling or donating it.
Conclusion
Keep your car in a garage to keep it clean and safe. Avoid keeping pet food, oil-soaked rags, books, firewood, sleeping bags, paint, toys, propane tanks, old computers, printed photographs, important files and papers, wine, old clothing, canned food, rugs and carpeting, electronics, and lawn equipment in the garage. Store them in airtight plastic or metal containers, away from the house, and in a safe location. Keep electronics in a separate location and avoid storing them in the garage.
Keep your garage clean and organized to prevent damage to your car and its contents. Keep your garage clean and organized to save money on maintenance and repairs. Keep your garage clean and organized to ensure a safe and organized space for your belongings.
To organize your garage, use space planning services and measure your garage’s layout. Keep related items together, place heavy tools in corners, keep bikes near the garage door, and place seasonal or seldom-used products in difficult-to-reach areas.
Keep things off the floor for more space and avoid clutter. Use transparent containers, reusable containers, locked cabinets, and label makers for storage. Open shelves are better than closed cabinets for space efficiency. Vertically organize your space with pegboards, track-based systems, and pannelized systems.
Make good use of overhead storage space by hanging flat items from the ceiling, building a workbench, sealing air leaks between the home and garage, installing locks for doors and windows, using magnetic strips for tool storage, and using retractable cord holders.
Consider using corners for smaller items and make it a habit to stay clean by keeping insects away, using kitty litter, and keeping a vacuum cleaner close to your workstation.
Content Summary:
- Store pet food in an airtight plastic or metal container.
- Avoid storing oiled rags in the garage as they can ignite.
- Keep books indoors to prevent silverfish infestation.
- Keep firewood away from the house.
- Avoid keeping sleeping bags in the garage due to unpredictable humidity and temperature swings.
- Bring fabric goods indoors.
- Keep leftover paint in a fireproof rack at least 20 feet away from the house.
- Keep soft toys and stuffed animals indoors to prevent damage from dust mites and other insects.
- Store toys in sealed containers if in the garage.
- Keep them outside to prevent fires.
- Keep gadgets inside at all times due to susceptibility to short circuits.
- Keep photos inside in acid-free containers.
- Store sensitive documents in sealed plastic containers.
- Store wine on a wine rack for a functional and aesthetically pleasing kitchen.
- Use space planning services from garage-organising system makers to determine storage locations.
- Measure your garage and consider door, window, switch, and outlet sizes.
- Keep related items together for storage of lawn chemicals and gardening implements.
- Place heavy tools in corners to avoid collisions with your vehicle.
- Keep frequently used items near the garage door.
- Place seasonal or seldom-used products in difficult-to-reach areas.
- Avoid putting anything on the floor for more space.
- Use prefabricated shelving units or legs for cabinets for easy floor cleaning.
- Use various-sized transparent containers for storing hardware and small objects.
- Reuse and recycle food jars.
- Install a locked cabinet to remove dangerous yard chemicals.
- Use an on-the-go label maker for easy handwriting recognition.
- Open shelves save space, are less expensive, and make scanning stored items easier.
- Closed cabinets with doors conceal clutter and disorganisation.
- Use pegboards, track-based systems, and pannelised systems for vertical organization.
- Make good use of overhead storage space by hanging flat, long items from the ceiling.
- Build a workbench for a stable surface and neat storage.
- Seal cracks in the ceiling or wall before installing organizers.
- Secure garage doors and windows with deadbolts and secure the door when away.
- Mount magnetic strips on the front of your workstation for quick access to tools.
- Install retractable cord reels to keep extension cords hidden.
- Consider corner shelves for smaller items.
- Use natural pesticides, kitty litter, and a portable vacuum cleaner for quick cleanups.
- Regularly water the floor and sort through possessions annually.
- Store garments in airtight plastic bags and elsewhere in the house.
- Store canned goods at temperatures of 50 to 70 degrees to prevent rusting.
- Store rugs and carpets elsewhere as they provide hiding places for rodents and insects.
- Old electronic devices may not be immune to damage.
- Store lawn equipment in a rack for better organization.
- Use space planning services from garage-organising system makers to determine storage locations.
- Measure your garage and consider door, window, switch, and outlet sizes.
- Keep related items together for storage of lawn chemicals and gardening implements.
- Place heavy tools in corners to avoid collisions with your vehicle.
- Keep frequently used items near the garage door.
- Place seasonal or seldom-used products in difficult-to-reach areas.
- Avoid putting anything on the floor for more space.
- Use prefabricated shelving units or legs for cabinets for easy floor cleaning.
- Use various-sized transparent containers for storing hardware and small objects.
- Reuse and recycle food jars.
- Install a locked cabinet to remove dangerous yard chemicals.
- Use an on-the-go label maker for easy handwriting recognition.
- Open shelves save space, are less expensive, and make scanning stored items easier.
- Closed cabinets with doors conceal clutter and disorganisation.
- Use pegboards, track-based systems, and pannelised systems for vertical organisation.
- Make good use of overhead storage space by hanging flat, long items from the ceiling.
- Build a workbench for a stable surface and neat storage.
- Seal cracks in the ceiling or wall before installing organisers.
- Secure garage doors and windows with deadbolts and secure the door when away.
- Mount magnetic strips on the front of your workstation for quick access to tools.
- Install retractable cord reels to keep extension cords hidden.
- Consider corner shelves for smaller items.
- Use natural pesticides, kitty litter, and a portable vacuum cleaner for quick cleanups.
- Regularly water the floor and sort through possessions annually.
Frequently Asked Questions
How Can I Protect Tools And Equipment During Garage Storage?
Invest in quality tool chests, cabinets, or pegboard systems to keep tools organised and protected. Regularly clean and lubricate tools to prevent rust, ensuring they remain in good working condition.
What’s The Best Way To Store Seasonal Items In The Garage?
Use clear, labelled bins for seasonal items to identify and access them easily. Store seasonal belongings on higher shelves or less accessible areas to prioritise space for frequently used items.
Can I Repurpose Everyday Items For Garage Organisation?
Absolutely! Use jars for small item storage, old furniture for workstations, and even pallets for shelving. Repurposing items is a cost-effective and creative way to organise your garage.
How Do I Prevent Clutter From Accumulating In The Garage?
Regularly assess items, donate or discard things you no longer need, and maintain an organised storage system. Implement a “one in, one out” rule to avoid unnecessary accumulation.
What Safety Measures Should I Consider During Garage Organisation And Cleaning?
Wear appropriate safety gear, store hazardous materials properly, and secure heavy items to prevent accidents. Ensure good lighting for visibility, and keep pathways clear to avoid tripping hazards.