Creating a custom workbench in your garage is a fulfilling and practical project. A well-built workbench offers a sturdy workspace and helps keep your tools and materials organised. This guide will walk you through the steps of building a custom DIY garage workbench. By following these instructions, you’ll learn how to construct a workbench that fits your specific needs and maximises your garage space.
How to Build a Custom DIY Garage Workbench
Building a custom DIY garage workbench involves several key steps. This guide breaks down the process into manageable sections, ensuring you create a sturdy and functional workbench.
1. Cut Cabinet Sides and Attach Stretchers for Stability
Cutting cabinet sides is the first step in creating a solid foundation for your workbench. Use plywood or MDF for the sides, and ensure each piece is cut accurately to provide a stable base. A circular saw is ideal for achieving straight, smooth cuts.
Attaching stretchers is crucial for stability. These horizontal pieces connect the sides, preventing wobbling. Secure the stretchers with wood glue and screws, ensuring they are flush with the edges. Clamping the pieces together while the glue dries will create a tight bond.
2. Install Drawer Slides on the Cabinet Frames
Before installing the drawer slides, ensure the cabinet frames are square and level. Mark the positions for the drawer slides on both the cabinet sides and the drawers.
Mount the drawer slides on the cabinet sides according to the manufacturer’s instructions, typically involving screwing the slides into pre-marked positions. Install the corresponding parts of the slides on the drawers, using a level to ensure the slides are perfectly horizontal. This alignment allows the drawers to open and close smoothly.
3. Construct Drawers and Attach Adjusters to Cabinets
Constructing drawers involves cutting the drawer pieces from plywood or MDF. Each drawer requires a front, back, two sides, and a bottom. Assemble the drawers by attaching the sides to the front and back pieces, then securing the bottom. Use wood glue and nails or screws for a strong assembly.
Install adjusters to ensure the drawers fit perfectly within the cabinet frames. Adjusters help align the drawers and allow for fine-tuning. Test the fit of each drawer before finalising the installation of adjusters.
4. Fit Drawers into Your DIY Garage Workbench
Carefully insert the drawers into the cabinet frames, aligning them with the drawer slides. Test each drawer to ensure it slides smoothly and fits snugly within the frame. If a drawer doesn’t fit properly, adjust the slides or use shims to achieve a perfect fit.
Once the drawers are properly aligned, secure them by tightening any screws on the adjusters or slides. Adding drawer handles or pulls will provide easy access.
5. Create a Durable DIY Workbench Top
Selecting the right material for your workbench top is crucial for durability. Options include plywood, MDF, or solid hardwood. Consider adding a protective layer, such as a polyurethane finish, to increase the longevity of your workbench top.
Cut the workbench top to fit the dimensions of your frame and secure it using screws. Ensure the top is flush and level. Using wood glue in addition to screws will add stability.
6. Build and Secure a Hutch to Your Workbench
Designing a hutch provides additional storage and organisation. A hutch can include shelves, cabinets, and pegboards. Use the same materials as the rest of your workbench for a cohesive look.
Construct the hutch separately, using plywood or MDF for the shelves and back panel. Attach the hutch to the back of the workbench using screws and wood glue. Ensure the hutch is securely attached to prevent it from tipping over or becoming unstable. Adding additional supports or brackets will increase stability.
Conclusion
Building a custom DIY garage workbench involves careful planning and execution, but the results are well worth the effort. By following these steps, you will learn how to build a workbench for your garage that is both functional and durable. This workbench will not only provide a sturdy surface for all your projects but also offer ample storage and organisation solutions.
Key Takeaways
Planning and measuring carefully before starting your project ensures all pieces fit together seamlessly. Use quality materials to build a durable and long-lasting workbench. Incorporate storage solutions such as drawers and a hutch to keep your workspace organised. Ensure all components are securely attached for a stable and safe workbench.
By building a workbench tailored to your specific needs, you’ll create a valuable addition to your garage that enhances your productivity and helps you stay organised. Enjoy your new garage workbench and the many projects it will support!
Additional Tips
When working on a large project like building a workbench, having a clear plan is essential. Sketch your design, including dimensions and the layout of drawers, shelves, and the hutch. This blueprint will guide you through the construction process and help you visualise the final product.
Choosing the right materials is vital. Plywood and MDF are popular choices for their strength and ease of use. If you opt for solid hardwood, you’ll benefit from a more durable surface but at a higher cost. Consider the trade-offs between cost, durability, and ease of working with the material.
Precision is key in every step. Measure twice, cut once. This old carpenter’s adage saves time and materials by ensuring accuracy before making any cuts. Use a level to check that all pieces are square and level at each stage of assembly.
Investing in quality tools can make the project easier and the results more professional. A circular saw is excellent for making straight cuts, while a power drill speeds up the process of driving screws. Clamps are indispensable for holding pieces together while the glue dries, ensuring a tight bond.
When it comes to assembly, take your time to ensure everything is aligned and secured properly. This patience will pay off in a more stable and functional workbench. Use wood glue in addition to screws for a stronger bond, and always pre-drill holes to prevent the wood from splitting.
Adding a protective finish to your workbench top will extend its life. Polyurethane is a durable option that protects against scratches and spills. Apply multiple coats for the best protection, sanding lightly between coats for a smooth finish.
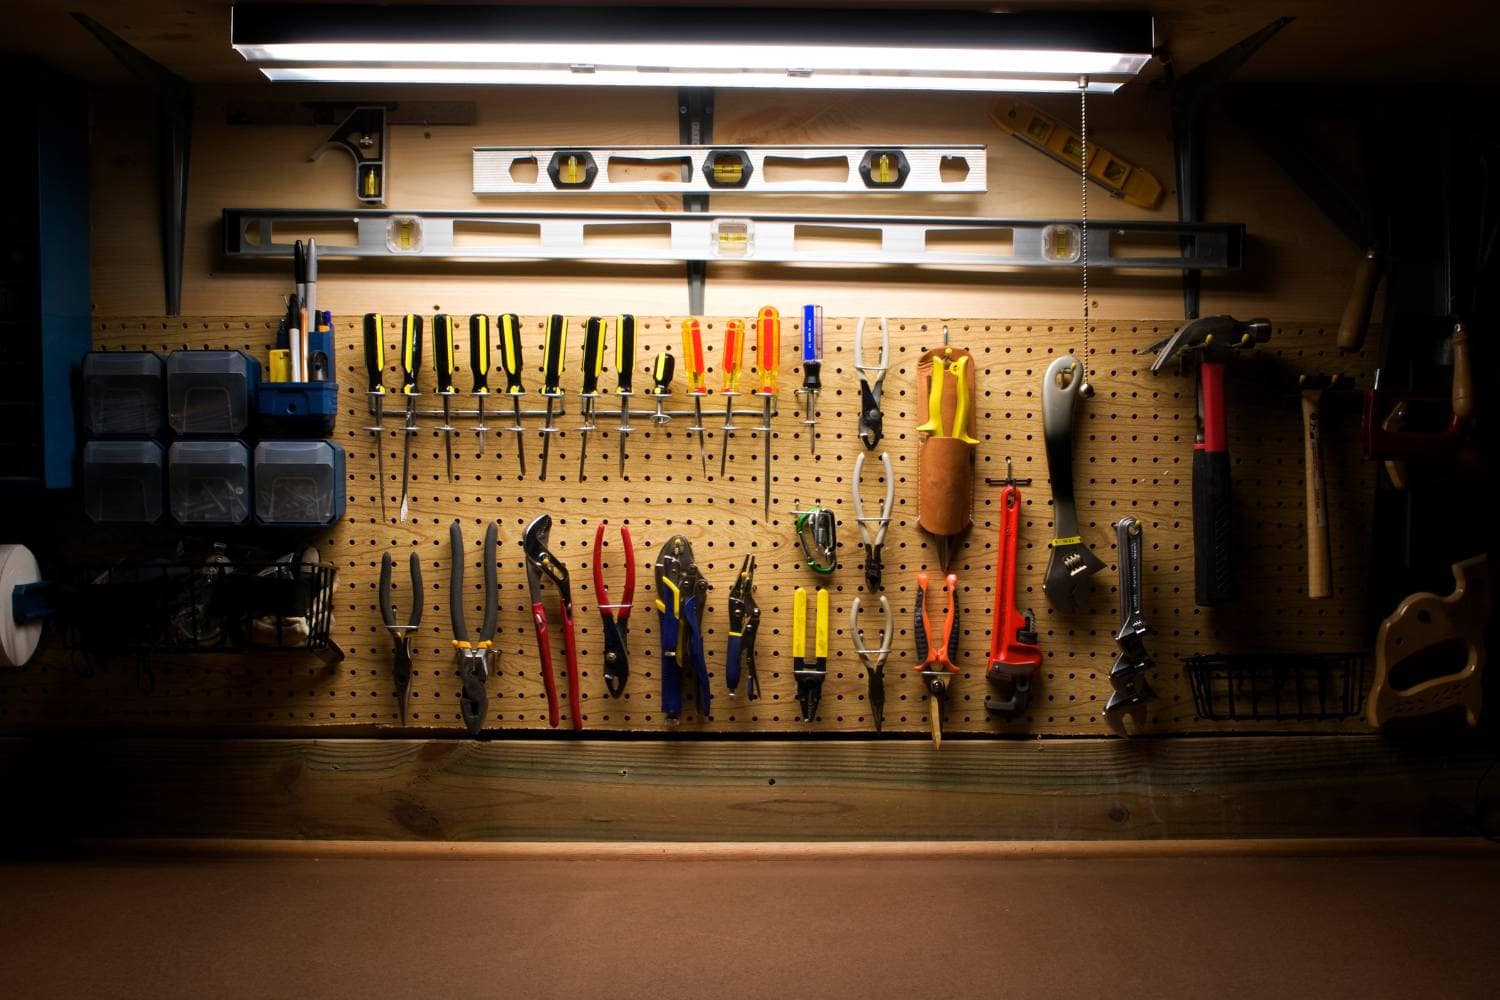
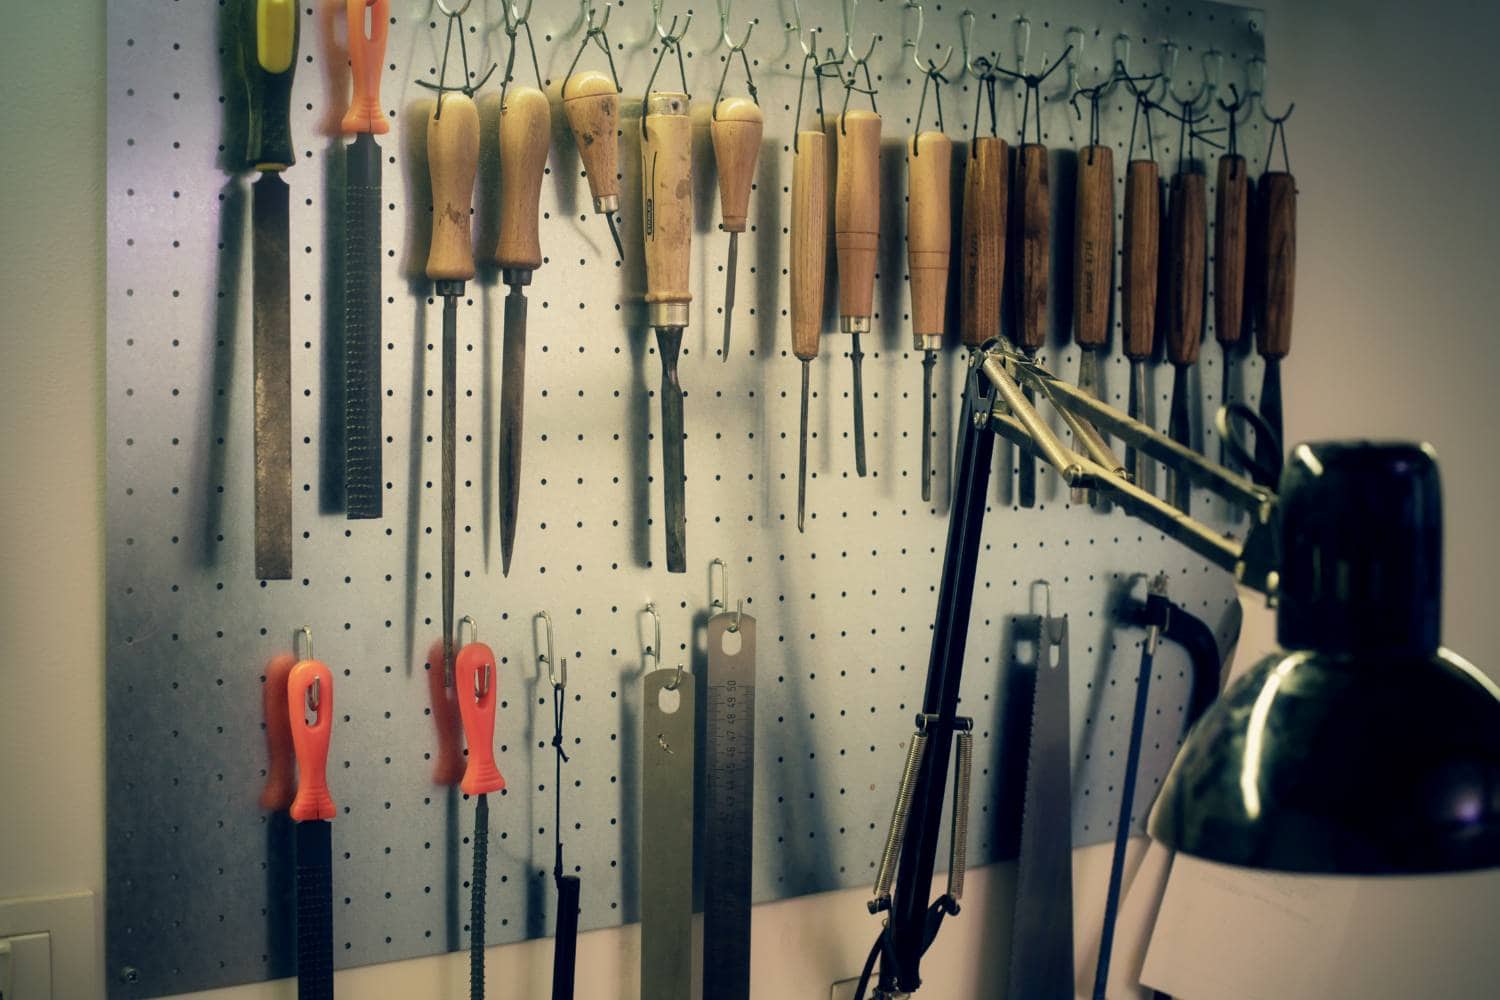
Storage solutions are a key component of a functional workbench. Incorporate drawers, shelves, and a hutch to keep tools and materials organised. A pegboard above the workbench provides easy access to frequently used tools. Customise your storage to fit your specific needs, making your workspace more efficient.
Building a folding workbench is an excellent option for small garages. Design the folding mechanism to fit your space, whether the bench folds down from the wall or has collapsible legs. This versatility allows you to maximise your workspace while keeping the bench out of the way when not in use.
Maintaining your workbench is crucial for long-term use. Regularly inspect it for loose screws or signs of wear. Keep the surface clean and free of debris. Reapply protective finishes as needed to maintain the wood’s integrity.
By following these guidelines and tips, you’ll create a workbench that not only meets your needs but also enhances your workspace. This project is an investment in your DIY capabilities, providing a dedicated area for all your future projects.
Final Thoughts
Building a workbench in your garage is more than just a project; it’s a commitment to improving your workspace and your craft. Whether you’re a seasoned DIY enthusiast or a beginner, this guide provides the steps and tips necessary to create a functional and durable workbench. The satisfaction of building your own workbench and the benefits it brings to your garage make this project worthwhile.
Embrace the process, take your time, and enjoy the transformation of your garage into a more organised and productive space. Happy building!