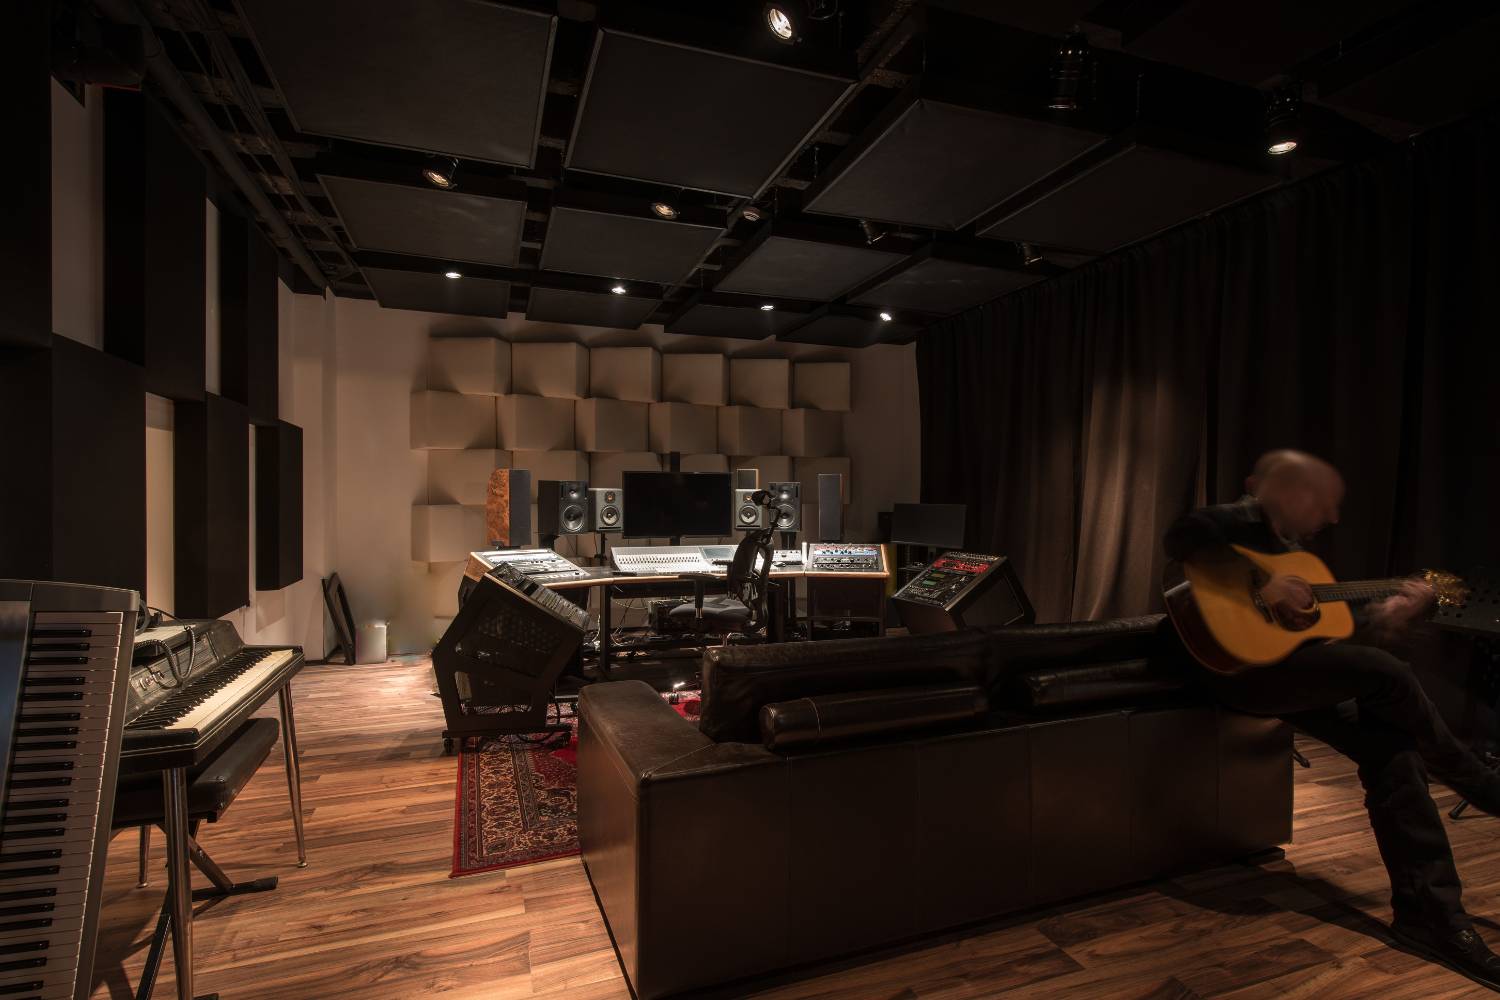
Transforming a garage into a music studio is an exciting project that can provide an ideal space for creativity and recording. This comprehensive overview details the essential steps and considerations needed to ensure a successful garage music studio conversion.
Planning Your Garage Music Studio Conversion
Before diving into the actual conversion, it’s crucial to start with a solid plan. Planning involves determining the overall layout and functionality of your garage recording studio. Consider what areas you’ll need, such as a recording space, a control room, and possibly a lounge area. Decide how to best utilise the garage space to fit your music equipment and studio equipment.
Design Ideas for Your Garage Recording Studio
Designing your garage into a music studio involves both practical and aesthetic choices. Acoustic treatment is a key factor—installing acoustic panels, bass traps, and ensuring soundproofing with materials like rockwool can drastically improve your sound quality. Think about the floor plan and whether to use concrete flooring or carpet. Consider ventilation and lighting options like LED lights to create a comfortable and inspiring environment.
Steps to Turning a Garage Into a Music Studio
Building a music studio involves several key steps to ensure the space is functional, comfortable, and acoustically optimised. Here’s a step-by-step approach to guide you through the process:
Assess and Plan
Start by evaluating the current condition of your garage space and planning how to best use it. Measure the dimensions of the garage and consider the placement of essential elements like studio equipment, music equipment, and your workstation. Create a detailed floor plan that includes areas for recording, mixing, and any additional spaces like a lounge or control room.
Soundproofing the Space
Effective soundproofing is critical for achieving professional sound quality and minimising outside noise. Begin by sealing any gaps around the garage door, windows, and other openings. Use insulation materials to reduce sound transmission. Adding a layer of drywall can enhance soundproofing by creating a room within a room effect. Install garage door panels designed to minimise sound leakage for better soundproofing.
Acoustic Treatment
Once the space is soundproofed, focus on acoustic treatment to refine the sound quality within the studio. Install acoustic panels on walls and ceilings to manage sound reflections and control reverberation. Bass traps placed in the corners will help with low-frequency management. Assess and address any flutter or echo issues to ensure a balanced acoustic environment.
Electrical and Lighting Setup
Ensure your garage recording studio has the necessary electrical infrastructure to support your studio equipment. Install sufficient outlets and consider adding dedicated circuits for high-power devices. For lighting, use LED lights to provide energy-efficient and adjustable illumination. Plan for both ambient and task lighting to create a comfortable and functional workspace.
Flooring and Ventilation
Choose the right flooring to complement your acoustic setup. If the existing concrete floor is too reflective, consider adding carpeting or acoustic flooring. Ensure proper ventilation to maintain a comfortable temperature and air quality. Install ventilation systems or air conditioning to handle extended recording sessions.
Furnishing and Arranging
Arrange your music equipment and studio equipment according to your floor plan. Position studio monitors and your workstation for optimal sound monitoring and ease of access. Set up your recording area with the necessary microphones, drum machines, and other gear. Ensure that everything is organised and easily reachable to facilitate a smooth workflow.
Testing and Fine-Tuning
Once everything is set up, test the studio to ensure everything works as expected. Conduct sound checks to evaluate the effectiveness of your acoustic treatment and make any necessary adjustments. Fine-tune the setup of your studio monitors and other equipment to achieve the best sound quality. Make sure the studio is comfortable and functional for long sessions.
Budgeting for Your Music Garage Studio
Creating a music garage studio can be as budget-friendly or as extravagant as you choose. Key expenses include soundproofing materials, acoustic panels, and studio equipment. It’s important to set a budget that covers these essentials while allowing for any additional costs that may arise during the garage conversion. Prioritise spending on critical areas like insulation and acoustic treatment to ensure the best sound quality.
Maintaining Your New Music Studio
Once your garage recording studio is up and running, regular maintenance will help keep it in top shape. Keep the space clean, check for any acoustic treatment wear and tear, and ensure your ventilation system is functioning properly. Regularly inspect your studio equipment and address any issues promptly to avoid disruptions to your music-making.
Conclusion
Transforming a garage into a music studio is a rewarding endeavour that can provide an exceptional space for creativity and recording. By following these steps—careful planning, effective soundproofing, thoughtful acoustic treatment, and proper setup—you can create a functional and inspiring garage music studio that meets your needs. Balancing budget considerations with quality materials and thoughtful design will ensure a successful garage recording studio conversion.
Maintaining your new music studio is essential to preserving its functionality and comfort. Regular upkeep will keep the space in top condition and ensure that your creative environment remains conducive to producing high-quality music. With the right approach, your music garage studio will become a cherished space where you can explore, create, and perfect your craft.


