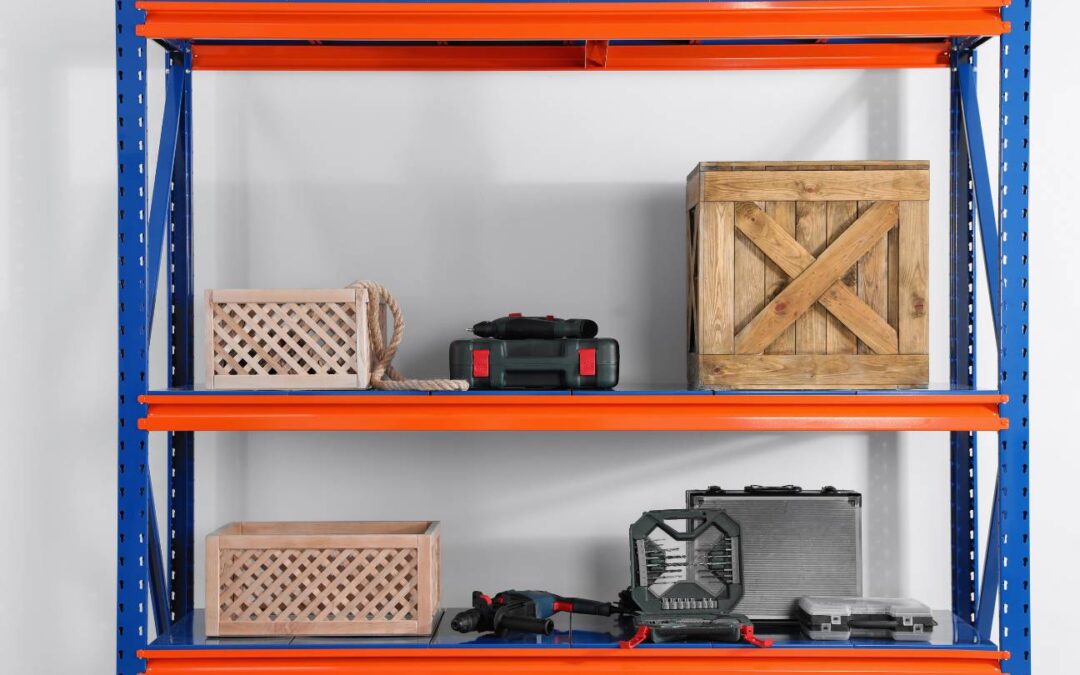
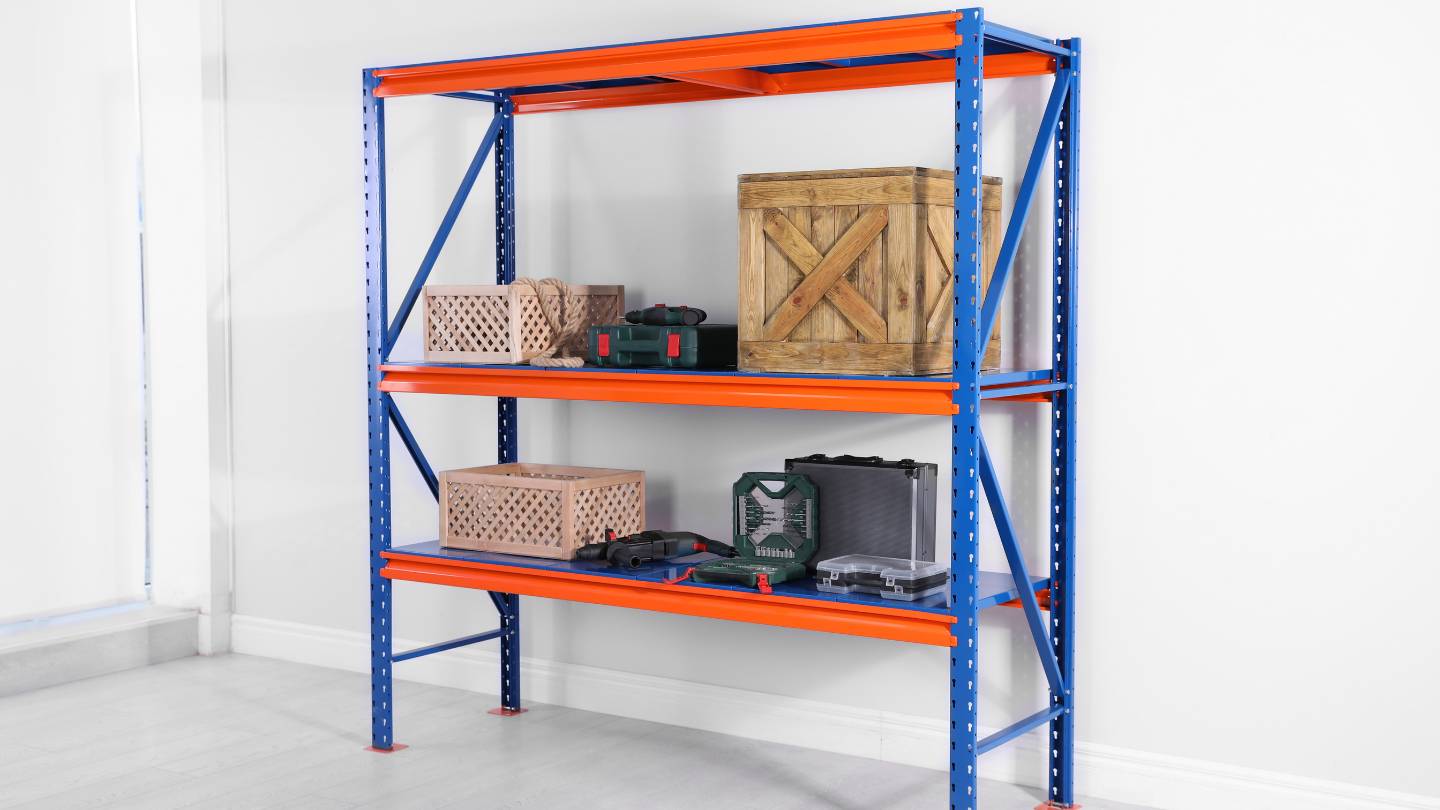
Consider your skill level, the complexity of the installation, and your comfort level with tools and equipment before deciding whether to install garage shelving systems yourself or call a professional. With their user-friendly design and clear instructions, many garage shelving systems are perfect for those who want to install them themselves.
You can save money and have more fun doing it yourself if you know your way around tools, have some basic carpentry abilities, and have a solid grasp of how everything fits together during installation. Do-it-yourself garage shelving kits are widely available at home improvement stores. These kits come with all the necessary components pre-cut and come with thorough instructions, so installing the shelves is a breeze.
Hiring a professional installer could be the best option if you don’t have the time, knowledge, or faith in your DIY abilities. The installation process is best left to experts because of their knowledge, speed, and accuracy; this guarantees that the shelving systems will be mounted securely and will adhere to all safety regulations. When working with more intricate or personalised storage solutions, this comes in handy because they could call for exact measurements and tweaks. If you want a well-organized garage but don’t want to deal with the hassle of installing it yourself, hiring a professional can be a good choice.
Your degree of DIY project comfort and the garage shelving system’s complexity are the deciding factors. If you’re comfortable working with your hands and want an easy, prefabricated solution, installing it yourself can be a rewarding and economical experience. However, if you’re worried about the installation or don’t have the necessary abilities, it’s best to hire a professional. They will install the shelving system in your garage smoothly and securely.
What Does A Professional Organizer Do?
As you go over the budget, make sure to spell out exactly what a professional organiser does and does not. If you need assistance sorting through your physical possessions, a professional organiser is a good choice. When you need assistance with organising your belongings, whether it’s by sorting through and decluttering or creating a system to maintain your house or other area neat and tidy, these are the people to call.
In the course of the project you hired them for, some organisers may clean up a little, but they aren’t typically maids or cleaners. Aside from matters pertaining to your physical space, they do not specialise in personal or life organisation, goal planning, scheduling, or time management. While they may be able to help you with design and even make purchases sometimes, they are not interior designers.
Some organisers are more broad-brush in their approach, while others are experts in a narrow field. An example of this would be a digital organiser, which can assist you in organising your digital environment and providing guidance on how to make the most of your technology. A professional organiser will focus on organising your files and workspace so that you can get the most done in the least amount of time.
If you know what your project requires and the professional organizer’s areas of competence, you may choose the best one at the best price. Ultimately, a professional organizer’s job is to create a system of organisation that works for you and your way of life, so that your home is as calm and productive as can be.
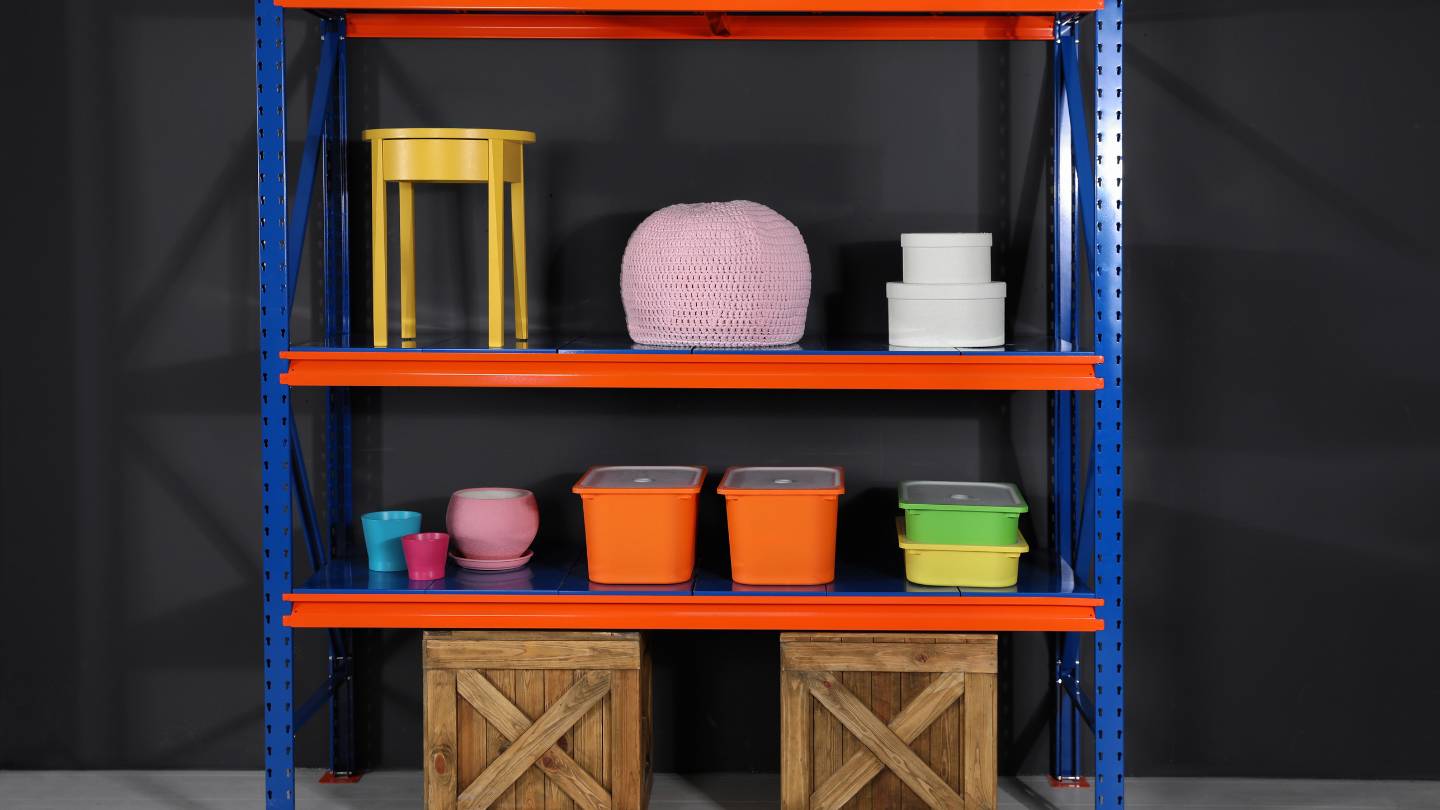
What Should And Shouldn’t Be Stored In Your Garage
If you’re thinking about keeping valuables in your garage, you should take extra precautions to keep them safe because garage security is usually not up to par with the rest of your home’s security. In addition, make sure that your garage storage is covered by your insurance policy; free up some room, and you can reorganise and repurpose household items as needed.
Think about the state of your garage. It is important to take steps to avoid damaging any goods that are susceptible to temperature or humidity. Although food items should be stored with care when stored outside of the home, garages can serve as great larders to take advantage of bulk purchase discounts. The garage is a wonderful place to keep perishable items, such as glass and canned goods, unless they are in airtight plastic containers. Humidity damages cardboard and paper items and makes them rodent magnets.
What If You Hired A Professional Garage Renovation Company?
Professional garage makeover companies typically have installers who can complete floor coatings or storage solution installations in a day or two. In their fully-stocked truck, they will set up a mobile workshop where they will install your new garage floor or cabinets. In little time at all, you will have a fully functional garage.
Similarly, a trained expert will not omit any of the critical procedures. In the instance of flooring, the installers will have prepped the area correctly, ground the old concrete floor to guarantee adherence, and made any required repairs to ensure that your new garage floor lasts.
Flooring, cabinets, and storage solutions installed by experts not only last longer and look better, but they also usually come with warranties to cover any problems. If you hire a reliable garage renovation company, they will guarantee that their products and services will endure for years, and if anything goes wrong, you won’t have to worry since you’ll know that they’ll be there to fix it.
Those skilled garage renovators should be contacted when the time comes for a garage renovation. A design consultation can be scheduled at your convenience. At this appointment, you can go over the details of your garage remodel, voice any concerns you may have, and get a feel for the items and services that will make it all come together.
Following confirmation of the project and design, installation dates can be set. If you have any further questions, the installers would be happy to address them as they work on your garage at your home. When they’re through, you’ll be able to take pleasure in your shiny new garage!
Why Hiring Expert Garage Organisers Is a Good Idea
By making smart use of its space, your garage may be transformed into more than simply a place to park your cars; it can also be a workshop, an indoor gym, extra storage, and more. Garages have many uses, but they can quickly become dysfunctional and disorganised if not maintained frequently.
Invest in the services of expert garage organisers to transform your storage area into a showpiece that will serve you well for many years.
Here are seven reasons why hiring garage organisers is a good idea:
Fix Your Storage Problems In The Garage
The secret to making a garage that serves your needs for years to come is to organise it properly. The problem is that most garages are disorganised because homeowners have a hard time controlling the clutter that accumulates there.
Working with a professional organiser can greatly facilitate the process of garage storage and organisation, allowing you to regain control of your space in no time.
Obtain A Practical Garage
By establishing several storage areas, a professional organiser can make your garage usable. With their knowledge of space planning, they may assist you in upgrading by suggesting ways to save space, such as using vertical storage solutions that maximise utility.
Create Usable Space
With the help of expert garage organisers, you can design a place that serves multiple purposes, perfect for your automobiles. Shelving and cupboards for tools and equipment, vehicle repair racks and benches, and even home gym equipment can all be part of it.
With the help of a professional organiser, you can make the most of your space and create an area that not only fulfils its primary function but also offers a little extra.
Boost Your Efficiency And Accountability
If you lack the expertise and time to organise your garage on your own, you may find the task to be quite daunting. If you want your space organised fast and efficiently, hiring expert organisers is a good investment of your time.
Doing it yourself garage organisation can end up costing you a pretty penny. Consider all of the equipment, materials, and supplies that will be required. You risk overbuying or getting the wrong materials if you don’t have the knowledge.
Professional garage organisers are prepared to take on any task, including organising your garage. Because of the way they do it, you won’t have to spend a fortune.
Improved Security
When it comes to organising your garage, safety is of the utmost importance. That is why it’s best to hire professionals to handle garage organisation. Things that could hurt you or anyone else trying to get into your garage will be simpler for them to spot.
Establish A Good Organisation
Hiring a professional can help you establish a routine for staying organised and permanently reduce the amount of clutter in your life. They can also assist you in determining which items to keep, which to donate, and which to sell.
Collaborate With Knowledgeable People
It takes a lot of expertise and understanding to organise a garage. Garage organisation is only one of many tasks that professional organisers are well-equipped to handle. Without compromising on quality, they are able to organise swiftly and efficiently. Furthermore, they will determine the most efficient methods of garage storage for you to maximise its potential.
If you’re not confident in your organisational skills, it may be best to use a professional garage organiser. To help you organise your garage and maintain it that way, they have the information, experience, and tools you need. Hiring a professional garage organiser is the first step towards reclaiming your space.
Conclusion
Homeowners or professionals can install garage shelving systems depending on their skill level, complexity, and comfort with tools and equipment. DIY kits are available at home improvement stores, but hiring a professional is recommended for those who need more time, knowledge, or confidence in their DIY abilities. Professionals can install shelves securely and adhere to safety regulations, making them a more efficient choice for complex or personalized storage solutions.
A professional organizer is a person who assists with organizing physical possessions, but they do not specialize in personal or life organization, goal planning, scheduling, or time management. They may also help with design and purchases but are not interior designers. Some organizers focus on specific areas, such as digital organization.
When storing valuables in your garage, take extra precautions to ensure safety, such as ensuring garage storage is covered by your insurance policy and reorganizing and repurposing household items. Additionally, consider the state of your garage to avoid damaging items susceptible to temperature or humidity, such as food items and perishable items.
In conclusion, the choice between installing garage shelving systems depends on your comfort level, the complexity of the project, and the specific needs of your home.
A professional garage renovation company can complete floor coatings or storage solution installations quickly and efficiently. They ensure proper preparation, grounding, and repairs to ensure the longevity of the new garage floor or cabinets. These professionals also come with warranties to cover any issues and guarantee their products and services will last for years.
When a garage renovation is timed, a design consultation can be scheduled to discuss the project details, voice concerns, and explore the items and services needed. After confirmation, installation dates can be set, and any further questions can be addressed during the process.
Hiring expert garage organizers can transform your garage into a functional space that serves multiple purposes, such as a workshop, indoor gym, or extra storage. They can fix storage problems, create usable spaces, boost efficiency and accountability, improve security, establish a good organization routine, and collaborate with knowledgeable people.
In summary, hiring a professional garage organizer is a good idea for those who are not confident in their organizational skills. They have the knowledge, experience, and tools to help organize and maintain your garage, making it a valuable investment for years to come.
Content Summary
- Consider your DIY skills and the complexity of garage shelving installations before deciding.
- Many garage shelving systems are designed for easy DIY installation.
- DIY kits with pre-cut components and clear instructions are widely available.
- Hiring a professional installer is advisable if you lack time or DIY confidence.
- Professional installers ensure secure and compliant shelving installations.
- Intricate or personalized storage solutions benefit from professional expertise.
- DIY installation can be rewarding and economical with basic carpentry skills.
- Professional organizers specialize in physical possession sorting and decluttering.
- They focus on organizing belongings and creating maintenance systems.
- Professional organizers are not cleaners or personal life planners.
- Some organizers specialize narrowly, like digital organizers for technology.
- Organizers optimize the workspace for efficient productivity.
- Know the project requirements and organizer’s competencies for the best choice.
- Professional organizers tailor systems to your lifestyle for a calm home.
- Valuables in the garage need extra security due to lower safety standards.
- Insure garage storage and repurpose household items for space efficiency.
- Protect temperature-sensitive items from garage conditions.
- Garages with proper containers are ideal for bulk food storage.
- Cardboard and paper items are susceptible to humidity damage.
- Professional garage renovation companies offer quick installations.
- Mobile workshops allow for efficient floor coating or cabinet installations.
- Proper prep ensures durable and visually appealing garage floors.
- Warranties cover problems in professionally installed flooring and storage.
- Garage renovation companies provide design consultations for personalized projects.
- Expert installers address concerns and ensure a satisfying project outcome.
- A well-organized garage serves various purposes beyond car parking.
- Expert garage organizers maintain functionality and aesthetics for years.
- Organize efficiently with professional help to regain control of your space.
- Maximize space utility with professional space planning advice.
- Multi-purpose garage setups include storage, repair areas, and gym spaces.
- Efficient garage organization saves time and avoids costly DIY mistakes.
- Professional organizers prevent accidents by identifying hazardous items.
- Regular organization routines reduce clutter and enhance safety.
- Professionals streamline garage organization processes without sacrificing quality.
- Organizers assist in deciding which items to keep, donate, or sell.
- Professional organizers possess expertise in various organizational tasks.
- Utilize professional garage organizers to reclaim and maintain your space.
- Gauge DIY skills before opting for professional garage organization.
- Professional organizers have the tools and knowledge to maintain garage order.
- Collaborate with experts to optimize garage storage solutions.
- Make an informed decision based on project complexity and personal abilities.
- Enjoy the process of DIY installation with basic carpentry skills.
- Ensure garage security for valuable items stored within.
- Insure garage storage to protect against unforeseen events.
- Prevent damage to temperature-sensitive items in the garage.
- Utilize garage space for bulk storage with proper containers.
- Trust professionals for efficient and lasting garage renovations.
- Maximize utility and aesthetics with expertly installed garage solutions.
- Collaborate with designers for personalized garage renovation projects.
- Reclaim your garage space with expert organization services.
FAQs About Garage Storage
Can I Install Additional Security Features In My Garage, Such As Motion Sensors Or A Security System?
Yes, you can enhance the security of your garage by installing additional features like motion sensors, security cameras, or a comprehensive security system. Motion sensors can trigger lights or alarms, while cameras provide surveillance. Connecting these features to a monitored security system adds an extra layer of protection, especially if your garage is detached from the main house.
What Are The Considerations For Choosing An Appropriate Garage Door Opener?
When choosing a garage door opener, consider factors such as the type of drive system (chain, belt, or screw), motor horsepower, and additional features like battery backup and smart home compatibility. Select an opener that is appropriate for the weight and size of your garage door. Noise level may also be a consideration, especially if the garage is attached to the house.
How Can I Make My Garage More Energy-Efficient To Reduce Utility Costs?
To make your garage more energy-efficient, ensure proper insulation in the walls and the garage door. Install weatherstripping around windows and doors, and seal any gaps or cracks. Consider upgrading to an insulated garage door with a high R-value. Use energy-efficient lighting, and if the garage is connected to the home’s heating or cooling system, ensure proper insulation and sealing of ducts.
What Safety Measures Should I Follow When Using Power Tools Or Equipment In The Garage?
When using power tools or equipment in the garage, prioritize safety. Wear appropriate protective gear, such as safety glasses and ear protection. Keep the workspace well-lit, and follow manufacturer guidelines for tool usage. Store tools in designated areas, unplug them when not in use, and keep flammable materials away from heat sources. Familiarize yourself with emergency shut-off procedures for equipment.
How Can I Address Issues With Garage Door Balance Or Alignment?
Issues with garage door balance or alignment can lead to operational problems. Check the balance by disconnecting the opener and manually opening and closing the door. If it doesn’t stay in place when partially open, adjust the spring tension. Ensure that the tracks are properly aligned and lubricate moving parts regularly. If problems persist, consider consulting a professional garage door technician.