Do you long for a place where you and your friends might listen to music without disturbing the peace? Alternatively, do you spend time in your garage working on various projects for fun? You can do whatever you choose in your garage as long as it doesn’t bother your neighbours.
Reducing the volume in your garage can have a significant effect. Learn how to effectively soundproof your home or garage so you may use it for hobbies, a home gym, or just to get some peace and quiet. We’ll insulate, seal, and perform whatever else needs to be done to give you peace of mind.
Why Should You Soundproof Your Garage?
There are two ways to block out noise. Sound absorption stops sounds that are already in a room from reverberating and echoing. Sound reduction keeps sounds from getting into a room.
Before you start a soundproofing task, you must figure out what to do. Is it more important to keep noise from getting in, out, or getting better in your garage?

Types of Noise
Before soundproofing your garage doors, you must consider two kinds of noise.
Impact noises
They are caused by sounds that travel through the building and make noises in other rooms. Impact sounds include heavy footsteps, shutting doors, furniture scraping, and music or power tools vibrations.
Airborne noises
These sounds come from everyday things like people talking, TVs, and radios. The Sound Transmission Class (STC) measures how well your home blocks out noise. The higher the STC, the more noise is blocked out.
Sound bounces off solid objects and gets louder, so you may imagine how loud a thing can be in your garage, which has hard floors, walls, and metal ceilings.
Several Reasons to Soundproof Your Garage:
Improve privacy
With a soundproofing garage, you’ll also have privacy, so even if you make noise, you can be sure it won’t be awkward.
Reduces distractions
When you soundproof your garage, noise can’t just get out and can’t get in, either. This helps you concentrate more in your garage office or the workshop.
Noise reduction from the inside
Great for getting along with your neighbours. Your connection with them will be enhanced if you don’t bother them when working on your car, exercising in your garage gym, or practising with your band.
Power tools, weights clanging, or a turbo trainer operating can be loud and might bother your family, so it’s best to keep the noise in the space.
Improves sound quality
For garage musicians, those who podcast, or people who have turned their garage into a home theatre, soundproofing the walls of the garage studio keeps the sound in the space and improves the sound quality by blocking out outside noises.
Increase resale value
If you ever opt to sell your property, having a soundproof garage can make it more appealing to people who share your interests or have similar needs, like musicians, people who like to work out at home, or people who like to do things themselves.
Steps to a Soundproof Garage
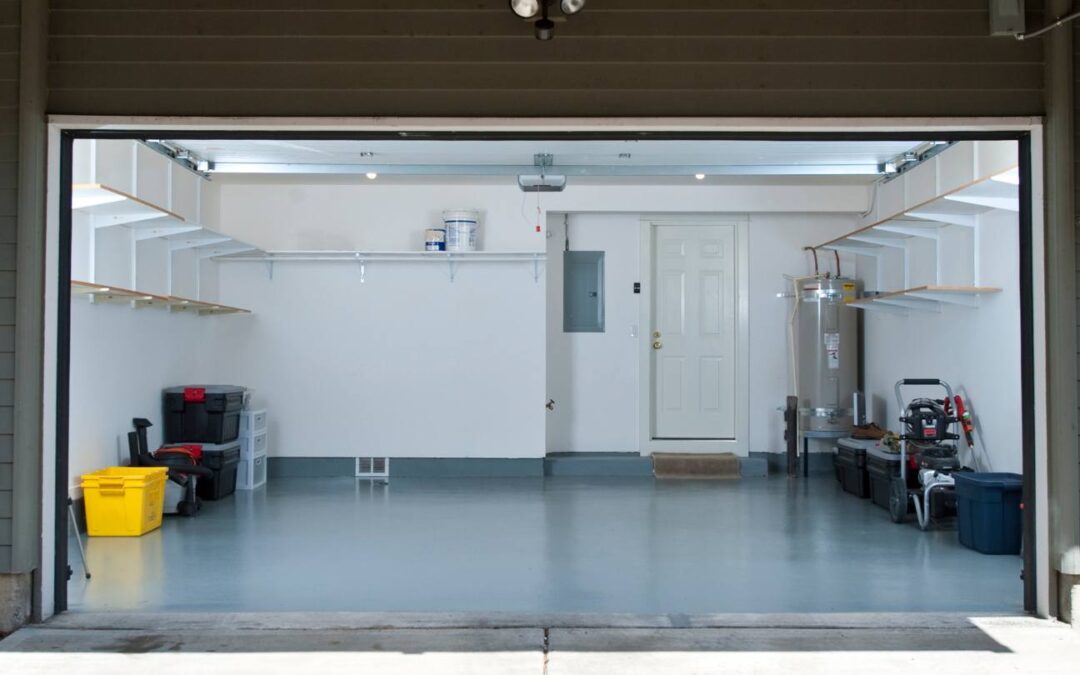
To make a soundproof garage, focusing on the windows, doors, walls, ceilings, and floors is essential. According to what you require, you might not require insulation for everything, but you should start with the windows, doors, and walls.
Use Soundproofing Above the Door.
Steel, wood, and other materials are all viable options for garage doors. These items’ surfaces are hard and highly reflective of sound. The door’s thickness may dictate how much work needs to be done to make it an effective sound barrier. A hollow core iron door, for instance, has a much lower STC rating of 17.
Noise from a rolling metal garage door can be a problem, but there are ways to mitigate it. Hang mass-loaded vinyl (MLV) or an acoustic blanket from a curtain rod above the garage door if you frequently open and close it and want to reduce noise.
Soundproofing Garage Windows
Windows are now thin and have spaces where noise can get out, so if your garage has windows, you must cover them.
When you get to the materials you can use to soundproof your windows, you can choose from:
- Window throws
- Tape to keep the weather out
- Curtains that block out noise
The problem with covering the windows will be that you won’t be able to let any natural light in. In this case, you’ll want to ensure your garage has good lighting.
Soundproofing Walls
Since walls are flat, sound is easy to bounce off of them. You may fix this by using foam tiles like a triangle or pyramid. This makes the wall-less flat, which makes it less likely to echo.
If the garage walls don’t have insulation, you should add it. Not only does it help you control what’s happening in your garage, but it also cuts down on noise. You can use fibreglass or mineral wool as insulation. You could use acoustic insulation, which is made especially for greater Soundproofing.
You could also put up more walls in your garage. You can make a room inside a room using our concrete partition wall, drywall, or wooden panels. This adds more layers for noise to go through. This is a process that is sometimes called “decoupling.” Again, acoustic blankets are always a good choice in this situation.
If your garage wall has gaps, it’s easy for noise to get in and out. To stop this from happening, you need sealant.
Soundproofing the Garage Ceilings and Floors
If you want to improve the sound quality in your garage, you won’t need to soundproof the ceilings and floors.
By installing soundproof ceiling tiles, sound waves won’t be able to bounce off flat surfaces, which will greatly reduce echoes.
The floors are also easily soundproof, and you can do a lot just by putting a few mats or carpets down in your garage. But you’ll get superior outcomes if you use thick, durable mats that are made to block out noise. If your floors have big chips or cracks, please fill them in or consider getting new garage flooring.
(Alternative) Room Inside a Room
Musicians have used the “room inside a room” method for many years. This simple method is still used in modern studios.
It renders a new room inside the garage that already has four walls. Closed corners don’t need to seal off any part of the room. All you’re doing is adding more sound barriers before the noise gets to the outside.
When it comes to cheap ways to keep noise out of a garage, “the more, the better” is the rule. If you can find it, the best thing to use is drywall. Fibreglass is another good material for absorbing sound because of how it is made.
How to Soundproof Your Garage for Drums and Other Instruments
Do you want to know how to make your loud drum set more comfortable in your quiet garage? Controlling the decibels and frequencies in your garage might make it an ideal space for drum or band practise. Think of sound waves to get a feel for frequency. Sound is produced when air molecules vibrate and travel to the eardrums.
A sound wave’s frequency is the rate of oscillation per second. Frequency is measured in hertz (Hz). A greater Hertz (Hz) value indicates a higher frequency. Think about the extremes of the violin’s 2637 Hz and the bassoon’s 41.2 Hz.
The lowest bass drum frequency may be produced by drums at a volume of 120 decibels. To cancel out low frequencies, a lot of mass is required. Longer wavelengths and lower frequencies mean that low-pitched sounds easily go through most barriers. Adding mass to a drum garage is another option for soundproofing it.
Here are some tips for soundproofing that musicians should remember:
- Combine techniques: The more effectively you can block low and high frequencies to enhance the sound in your space, the more layers of soundproofing you can add to your garage. Make sure you soundproof the windows, garage doors, ceilings, and floors, and build a space within a room or incorporate resilient channels. You’ll get the best Soundproofing possible when you use all these methods together.
- Use resilient channels: Sound waves go right through the drywall, or the wooden helps in the garage. Resilient channels have steel supports that act as a cushion to stop sound from trembling through the walls. By isolating it from the studs, they enhance the soundproofing abilities of substances like the drywall. You can also make a strong soundproof wall by replacing old insulating material with soundproofing supplies like MLV. If you can’t remove the drywall and put in resilient channels and MLV, you could stick MLV or acoustic panels to the walls.
- Build a room inside a room: The most effective method to soundproof a jam space might be to build a room inside a room. This is called “decoupling,” which keeps the low frequencies from the bass and drums from getting out. Fibreboard can make walls, which can then be lined with acoustic products that absorb and soak up sound. In the new room, you should build a separate ground or platform and a roof to keep noise from escaping. Put a piece of acoustic foam underneath the floorboard or platform of the studio.
So, Should You Soundproof Your Garage?
When you decide to soundproof your garage, it can take time and cost money. Soundproofing might be the way to go if you like spending time in your garage but don’t like how loud it is. Also, if having a quiet workplace makes you more efficient and productive, Soundproofing might be a good investment.
A Soundproof Garage Won’t Cost a Lot
There are many ways to make a room soundproof, but some methods used in skilled recording facilities cost tens of thousands of dollars. If you’re a new band, you’ll want cheap but effective ways to do things.
There are a few ways to soundproof your garage that will only cost you a little money as long as you don’t care about how the room looks. Even though acoustic covers and curtains don’t look great, they do their job.
Removing a garage from your house is one way to keep noise out of your garage. On top of that, you can get a two or 3-car garage that fits your needs. If you make your garage bigger, you’ll have enough space to build an area inside a room. You should also hire professionals who know how to construct a soundproof garage and have done it before.
Conclusion
Soundproofing your garage can significantly improve its functionality and privacy. There are two main ways to block out noise: sound absorption, which stops existing sounds from reverberating and echoing, and sound reduction, which keeps noise from entering a room. Impact noises, such as heavy footsteps, shutting doors, furniture scraping, and vibrations from music or power tools, can be addressed by using materials like steel, wood, or metal.
There are several reasons to soundproof your garage: it improves privacy, reduces distractions, improves sound quality, and increases resale value. To make a soundproof garage, focus on the windows, doors, walls, ceilings, and floors. Use materials like steel, wood, or hollow core iron doors to create an effective sound barrier. If you frequently open and close the door, hang mass-loaded vinyl (MLV) or an acoustic blanket to mitigate noise.
If your garage has windows, cover them with window throws, tape to keep the weather out, or curtains that block out noise. Ensure good lighting to allow natural light in. Soundproofing walls can be done by using foam tiles, adding insulation like fibreglass or mineral wool, or using acoustic insulation.
Additionally, add more walls in your garage, such as concrete partition walls, drywall, or wooden panels, to create more layers for noise to pass through. Sealant is also essential for gaps in garage walls to prevent noise from getting in and out.
Soundproofing garage ceilings and floors can improve sound quality by reducing echoes and reducing noise. Installing soundproof ceiling tiles and floors can reduce echoes, while using thick, durable mats can provide superior results. The “room inside a room” method is another option, creating a new room inside the garage with four walls. Using drywall or fiberglass is a good material for absorbing sound.
To make a drum garage more comfortable, control decibels and frequencies by considering the frequency of sound waves. To cancel out low frequencies, add mass to the garage. Combining techniques like soundproofing windows, doors, ceilings, floors, and building a space within a room can provide the best soundproofing.
Use resilient channels, which have steel supports that act as a cushion to stop sound waves from trembling through the walls. If drywall cannot be removed, use soundproofing supplies like MLV or acoustic panels. Building a room inside a room, called “decoupling,” can also help. Building a separate ground or platform, roof, and acoustic foam underneath the floorboard or platform can also help.
While soundproofing can be time-consuming and costly, it can be a good investment for those who enjoy spending time in their garage but don’t like the loudness. Some cost-effective ways to soundproof your garage include removing a garage from your house, getting a two or 3-car garage, and hiring professionals who can construct a soundproof garage.
Content Summary
- Soundproofing your garage allows for various activities without disturbing neighbours.
- Soundproofing can transform your garage into a hobby space, home gym, or quiet retreat.
- Two primary noise-blocking techniques are sound absorption and sound reduction.
- The goal determines whether you want to prevent noise from entering, leaving, or both.
- There are two main types of noise: impact noises and airborne noises.
- Impact noises include sounds like footsteps and furniture scraping.
- Airborne noises stem from daily activities like conversations and television.
- Soundproofing improves privacy by preventing external noises from entering.
- Reducing distractions enhances focus for tasks like office work in the garage.
- Soundproofing can strengthen relationships with neighbours by reducing disturbances.
- Improved sound quality benefits garage musicians and podcasters.
- Soundproofing can increase a property’s resale value by catering to specific buyer needs.
- Key soundproofing areas include the garage’s windows, doors, walls, ceilings, and floors.
- Doors made of steel or wood can reflect sound, increasing its volume.
- Hanging mass-loaded vinyl above a garage door can reduce noise from its operations.
- Soundproofing windows might involve window throws, weatherproof tape, or noise-blocking curtains.
- Garage walls can reflect sound; foam tiles reduce this reflection.
- Insulating garage walls with materials like fibreglass helps in noise reduction.
- Adding more walls inside the garage, a method called “decoupling,” adds layers of sound barriers.
- Sealing gaps in garage walls prevents noise leakages.
- Soundproof ceiling tiles reduce echoes by preventing sound from bouncing off.
- Thick, noise-blocking mats can soundproof garage floors effectively.
- The “room inside a room” method is popular among musicians for soundproofing.
- This method involves constructing a new room within the garage, adding multiple sound barriers.
- Fibreglass is beneficial in absorbing sound for this technique.
- Drum sets can produce frequencies of high decibels.
- Sound waves and frequencies play a crucial role in determining soundproofing techniques.
- Drums can produce low frequencies, which require substantial mass to cancel.
- To enhance soundproofing for music, it’s essential to block both low and high frequencies.
- Resilient channels can prevent sound waves from travelling through walls.
- These steel supports act as cushions and improve soundproofing.
- The combination of techniques provides optimal soundproofing results.
- Building a room inside a room can be especially effective for musicians.
- Fibreboard walls in this inner room can be lined with acoustic products.
- For optimal soundproofing, an acoustic foam layer should be placed beneath the studio’s floorboard.
- The decision to soundproof a garage depends on individual needs and preferences.
- Soundproofing offers peace and enhances productivity for those using the garage frequently.
- Investing in soundproofing can be cost-effective in the long run.
- The value of a soundproof garage is in its ability to cater to diverse activities without disturbances.
- Soundproofing measures are varied, offering solutions for different budgets and requirements.
- A well-soundproofed garage offers both privacy and peace of mind.
- By understanding the types of noises and their sources, one can target soundproofing more effectively.
- The STC rating measures a home’s ability to block out noise.
- Higher STC ratings indicate better noise-blocking capabilities.
- Soundproofing improves the ambience and functionality of a garage.
- By considering factors like noise type and desired results, homeowners can make informed decisions.
- Reducing external noises not only ensures privacy but also enhances the overall user experience in the garage.
- Whether for leisure, work, or hobbies, soundproofing maximises the garage’s potential.
- With the right techniques, homeowners can ensure that their garage remains a quiet, peaceful haven.
- The variety of soundproofing methods ensures that there’s a solution for every garage and budget.
Frequently Asked Questions
How long does it take to soundproof a garage?
How long it takes to soundproof a garage depends on how big and hard it is. It can take anywhere from a few days to two weeks.
Will soundproofing my garage increase its energy efficiency?
Yes, Soundproofing can save energy by improving insulation, which helps keep the temperature steady.
Can I install soundproofing materials myself?
Many soundproofing jobs can be done independently, but it’s best to talk to a pro for more complicated jobs.
Are there eco-friendly soundproofing options?
Yes, there are soundproofing materials that are good for the environment. For example, recycled denim insulation and cork panels can be used.
Can I still use my garage for hobbies and projects after soundproofing?
Yes, for sure! Soundproofing lets you enjoy your garage without bothering other people or being bothered by noise from outside.