When it comes to tasks involving the enhancement of one’s house, it is comforting to know that with the appropriate tools and procedures, no paint job is permanent, and removal is frequently a straightforward process.
Paint can be removed using specialised equipment such as a paint scraper, sandpaper, or a heat gun.
This might be helpful if you change your mind about the colour you chose or if you need to correct a mistake when painting.
The approach that you select will be determined by several factors, including the type of wall and paint, the amount of money you have available, and how comfortable you are using the tools.
After you have this figured out and have acquired the necessary tools, you will be well on your way to removing that paint off your wall to make it appear better than ever!
Why Remove Paint From Plaster Walls?
In most cases, you can simply paint or decorate over emulsion, but there are situations in which you will need to remove the paint first.
- In the event that the paint is brittle, flaky, or peeling
- If the wall has yet to have its paint pulled back in decades and it’s starting to look worn, this could be the problem.
No matter how many times you paint over paint runs and drips, they will always be visible.
This is because paint cannot be completely covered.
At some point, you will have no choice but to face reality and take everything down to the plaster.
How to Remove Paint From Plaster
You might be asking how to remove paint from plaster if you are getting ready to give your walls a new coat of paint, but the paint that is currently on them needs to be fixed or repaired.
In light of everything that has been said, it should be surprising that removing old paint from plaster walls is not very challenging.
And to make the procedure even simpler for you, we have compiled this step-by-step instruction for you so that you can be certain that the newly applied paint will result in a completely smooth surface.
Essential equipment for the task at hand:
- Sanding block 180 grit sandpaper
- Plaster filler
- Wall scraper
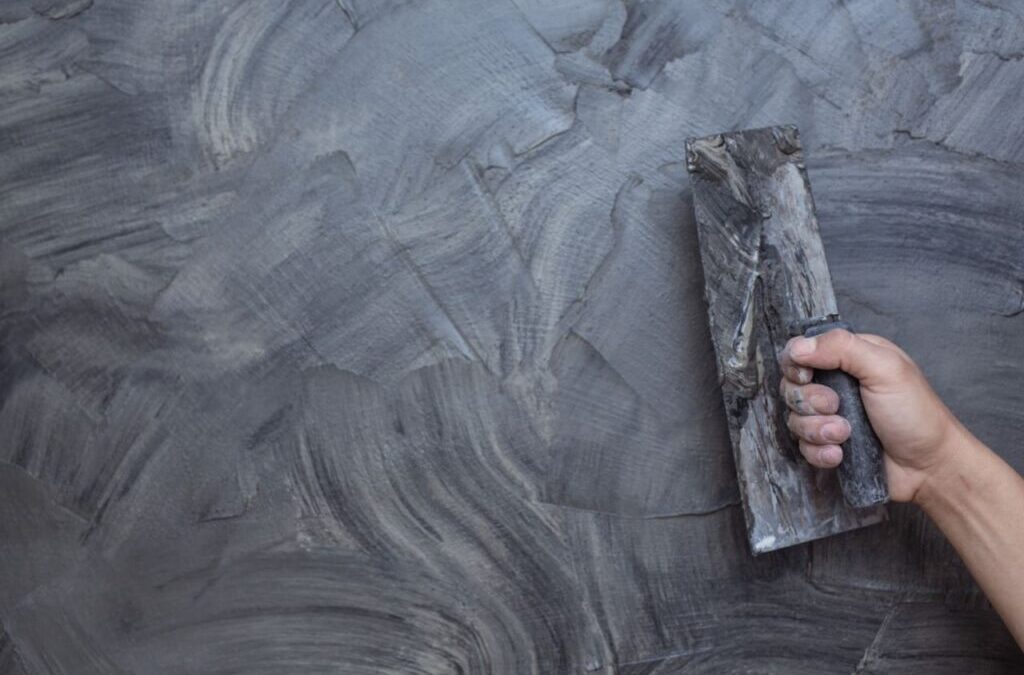
Scrape Away Any Loose Paint
The good news is that you do not need to entirely remove all of the old paint from the plaster in order to prepare your walls for a new coat of paint.
The bad news is that this step is necessary.
In light of the aforementioned, a wall scraper should be used to remove any paint that is flaking, cracked, or otherwise loose.
To remove the paint off the plaster in these locations, focus only on them.
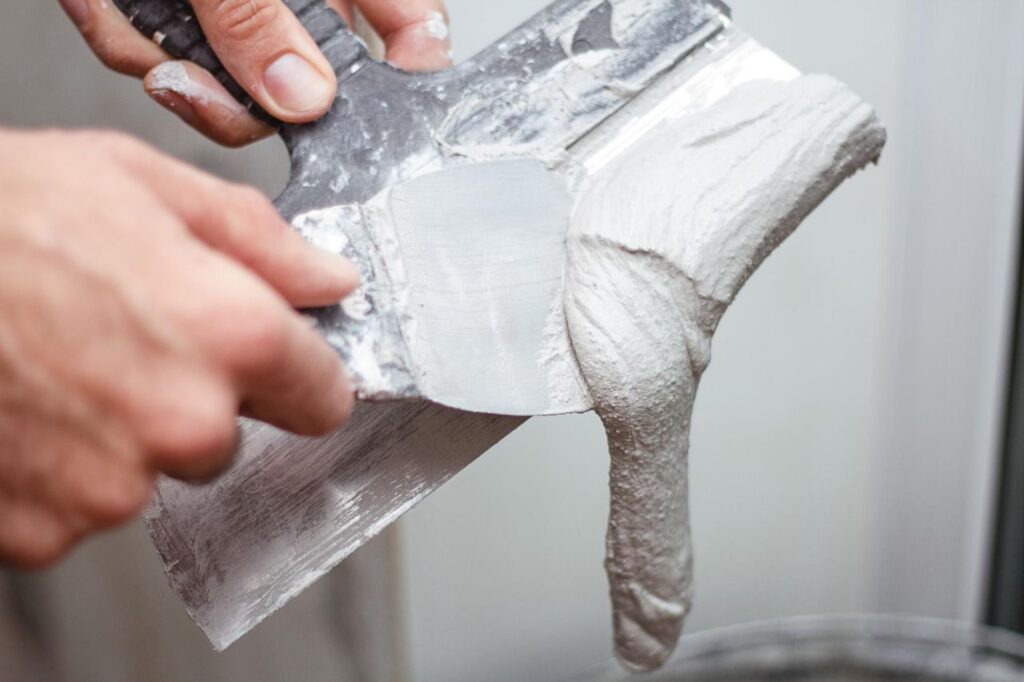
Using Wall Filler
The plaster isn’t perfectly smooth if the old paint on your walls is flaking or cracking.
You will be relieved to learn that the only thing required of you to repair these plaster places is to apply some plaster filler and then smooth it over with your wall scraper.
The filler coat will be relatively thin, so it should dry relatively fast; nevertheless, for the best results, we recommend waiting at least a day before moving on to step 3.
Sanding Down the Surface
Sand the entire area of plaster that will be painted with sandpaper that has a grit of 180 attached to it and place it on a sanding block.
This fine sandpaper will remove any other stray specks of paint from the plaster, but more significantly, it will produce a key for your new paint to attach to when you apply it.
My Preferred Choice for Removing Emulsion Paint From Plaster Walls
Unless there is no viable option, I avoid using substances requiring specific safety procedures.
White vinegar is the one I like to use the most.
It may take a solution of white vinegar longer to loosen the paint than the majority of the proprietary chemical treatments on the market, but it is inexpensive, risk-free, and simple to apply.
No matter what product you use to get the paint to loosen up, you will still need to put in some effort.
For this task, a scraper or wire brush is commonly utilised; however, extreme caution must be exercised to avoid scratching the surface that will later be painted.
Sanding the surface with a machine is something other than what I would advocate because it could leave the surface with unevenness and gouges.
Instead, you should use sandpaper with medium grit on a block in order to obtain a smooth surface.
Do I Need to Be Concerned About Lead in the Paint?
The term “lead-based paint” is used by a lot of people, although technically speaking, this is not the right language to use.
Oil or solvent is most commonly used as bases for paints that include a lead pigment.
Up to the 1990s, lead was employed as a pigment in oil paint; nonetheless, it is most frequently discovered in residential and commercial structures constructed before the 1970s.
Emulsion paint does not contain lead, but if you are redecorating an older home, you should be aware that multiple layers of paint may be underneath the finish coat.
How do you tell if the paint in your house contains lead?
A lead paint test kit is the most reliable way to find out.
When it comes to stripping emulsion paint, the presence of lead is not a concern.
Check read this article from the DIY Doctor if you’re interested in learning more about the lead that can be found in paint.
Tools & Materials
The following items are required in order for you to finish this project using the technique that I recommend:
Tools:
- Putty knife or metal scraper that is extremely sharp; the broader the tool, the better.
- Sanding block with 80-150 grade sandpaper
- Brushes for painting or for applying paste that is broad
- gloves made of sponge latex, a latex face mask, and goggles
- Ladders
Materials:
- Dust sheets Bucket Water White vinegar
- black liners for the trash cans to hold the old paint
How to Remove Emulsion Paint From Plaster Walls – Step-By-Step Instructions
If you wish to remove undesired emulsion paint from your plaster walls in a secure manner, follow the procedures below.
Step 1: Preparation
Because of this, you should position some dust sheets in close proximity to the wall.
During the sanding process, these sheets will catch all of the flaky emulsion paint and dust that is produced.
If you are unable to relocate your furniture, you should cover it as well.
Check out our how-to guide on painting a room without causing a mess for even more advice on getting a room ready for use.
Step 2: Wash Down the Wall
Create a solution by combining water and white vinegar: vinegar is added at a ratio of 3 tablespoons (45 grammes) to 1 gallon (four litres) of water.
Take note that you will get better results from this remedy if you use warm water.
Apply the solution to the wall in a generous manner using the paintbrush, beginning at the highest point and working your way down.
After allowing the solution to operate for a period of time equal to and including the soaking time, proceed to the following step.
Step 3: Scrape off the Paint
To remove the paint from the wall, hold a putty knife at a 45-degree angle to the surface of the wall.
Because of this angle’s shallowness, you won’t be able to dig into the plaster that lies beneath the paint.
Don’t worry if you scratch or otherwise damage the surface; it can be easily repaired.
The following video, which Charlie DIYte created, will walk you through the steps of repairing a damaged surface:
It is imperative that you gather all of the paint scuffs and place them in garbage bags.
If you don’t remove them, they will cling to your shoes, and then you will track them all over the home.
Step 4: Sand Down the Wall
After scraping off all of the loose paint from the wall, use a sanding block to lightly wipe the wall in a circular motion to smooth it out.
Make sure you get into all of the nooks and crannies.
The use of a small amount of water will make it easier to push paint and plaster into the depressed regions or pinholes, but anything more significant will need to be filled.
Pay attention to the spots where the paint has a small raised texture.
The goal here is to achieve a smooth surface on the wall rather than necessarily an attractive one.
Keep in mind that you are going to paint it in the future.
Step 5: Wash the Wall (Again)
To get rid of any remaining residue or lose parts, all you need to do this time is use some clean water and a sponge.
You need to ensure that the wall is left tidy, unbroken, and prepared for painting.
Instead of using heat to speed up the drying process, you should let the wall dry at its own pace naturally because the heat could cause the surface to break.
Pro Tip: To hasten the drying process, you should make use of a dehumidifier.
Removing Emulsion Paint From Plaster Walls – Final Thoughts
Unfortunately, removing emulsion paint from plaster walls is a tedious task, and if it is not done correctly, a lot of problems can arise.
After reading this tutorial, I hope you now understand the shortcuts that can help you get the task done quickly and without breaking the bank.
Check out our comprehensive guide on removing paint from uPVC window frames for additional advice on removing paint.
Health & Safety Measures
If you choose to proceed in this manner, you won’t be dealing with anything that is very dangerous.
On the other hand, you should protect your hands, eyes, and face by using latex gloves, goggles, and a face mask.
The use of these products will protect you from the flakes of paint that are floating around.
If you come into contact with lead paint, you will need to take further precautions.
Conclusion
The most important details in this text are the tools needed to remove emulsion paint from plaster walls.
The tools needed to remove emulsion paint from plaster walls include a paint scraper, sandpaper, or heat gun.
If the paint is loose, peeling, or flaky, it is necessary to strip it back to the plaster.
Tools needed for the job include a sanding block, 180-grit sandpaper, plaster filler, and a wall scraper.
Plaster filler should be applied and smoothed over with the wall scraper to fix areas of plaster that are peeling or cracked.
The most important details in this text are the steps needed to remove emulsion paint from plaster walls.
Sanding down the surface with 180-grit sandpaper is preferred, but white vinegar is also a good option.
A scraper or wire brush should be used to remove the paint, and a lead paint test kit is the best way to be sure.
Tools and materials needed include a sharp putty knife or metal scraper, a sanding block and 80-150 grade sandpaper, a broad paintbrush, a sponge, latex gloves, a face mask and goggles, and ladders.
The steps to safely remove emulsion paint from plaster walls include preparing the wall, mixing a water and white vinegar solution, scraping off the paint with a putty knife at a shallow angle, and collecting the paint scrapings in bin bags.
Preparation includes dust sheets, buckets of water, white vinegar, and black bin-liners for the old paint. Step 4: Sand down the wall using a sanding block and water.
Step 5: Wash the wall with clean water and a sponge.
Let the wall dry naturally, and use a dehumidifier to speed up the drying process.
Health & Safety Measures: Wear latex gloves, goggles and a face mask to protect yourself from flaky paint.
Content Summary
- How to Remove Emulsion Paint From Plaster Walls When it comes to home improvement projects, it’s great to know that with the right equipment and methods, no paint job is permanent, and removal is often an easy process!
- How to Remove Paint From Plaster If you’re ready to give your walls a new paint job, but your current paint is peeling or cracked, you might be wondering how to remove paint from plaster.
- Fortunately, removing old paint from plaster walls is a relatively easy process, all things considered.
- And to make the process even easier, we’ve put together this handy step-by-step guide so you can ensure you get a perfectly smooth finish with your new paint.
- With that being said, any loose, peeling or cracked paint should be removed using a wall scraper.
- Simply target these areas and scrape the paint off of the plaster.
- The filler coat is going to be thin and so should dry quickly, but for best results, we suggest waiting at least a day before moving on to step 3.
- Sanding Down the Surface Using 180-grit sandpaper attached to a sanding block, sand the entire area of plaster that you plan to paint.
- Do I Need to Be Concerned About Lead in the Paint?
- How do you know if you have lead paint?
- However, if you want to know more about lead in paint, check out this article from the DIY Doctor.
- Materials: Dust sheets, Bucket of Water White vinegar, Black bin-liners for the old paint How to Remove Emulsion Paint From Plaster Walls – Step-By-Step Instructions Follow the steps below to remove unwanted emulsion paint from your plaster walls safely.
- Step 1: Preparation Things will get messy, so lay some dust sheets close to the wall.
- These sheets will collect all the flaky emulsion paint and dust from the sanding process.
- Step 2: Wash Down the Wall Mix a water and white vinegar solution: 3 tablespoons (45 grams) of vinegar to 1 gallon (4 litres) of water.
- Step 3: Scrape off the Paint Use a putty knife at a shallow angle to the wall to scrape off the paint.
- If you damage the surface, don’t worry, it’s easy to fix.
- The video below by Charlie DIYte shows you exactly how to repair a damaged surface: Make sure you collect all the paint scrapings and place them in bin bags.
- Step 4: Sand Down the Wall Having removed all the loose paint, use a sanding block to rub down the wall using a circular motion.
- Adding a bit of water will help rub paint and plaster into the depressed areas or pinholes, but anything more significant will need filling.
- Concentrate on areas where the paint is raised slightly.
- Remember, you’re going to paint it later.
- Step 5: Wash the Wall (Again) This time, just use clean water and a sponge to remove all loose bits/residue.
- You want to leave the wall clean, smooth, and ready for painting.
- Removing Emulsion Paint From Plaster Walls – Final Thoughts Unfortunately, removing emulsion paint from plaster walls is a chore; a lot can go wrong when done poorly.
- For more paint removal tips, check out our guide to removing paint from uPVC window frames.
FAQ
What is the easiest way to remove paint from a plastered wall?
Scraping is the cheapest and easiest way to strip paint from a plaster wall.
If the paint has loosened or started peeling off, you can use a scraper blade or a putty knife to remove the pieces.
You can use sandpaper fitted with a rotary tool to strip the paint from small, unreachable surfaces.
How do you remove dried emulsion paint?
Warm soapy water is the best place to start. Soak a dishcloth and rub at the paint until it starts to come away.
If warm water doesn’t work, use cooking oil. Olive or vegetable oil helps to soften the paint, making it easier to remove.
What removes paint from plaster?
To create your own chemical stripper, mix 5 parts denatured alcohol, 3 parts mineral spirits and 1 part acetone.
This combination of solvents will loosen the paint from the plaster without causing serious damage.
Apply and scrape away until all paint is gone.
How do you get emulsion paint off plaster walls?
The most efficient way to remove emulsion from walls is to apply a paint stripper.
This method is particularly useful if you’re stripping a large area or the paintwork is extremely stubborn.
Choose a paint stripper that is specifically designed for emulsion and safe for use on plaster.
Can I use a paint remover on the plaster?
Yes. Chemical paint removers are suitable to use on plaster walls – as long as the product is formulated for this type of surface.